|
New
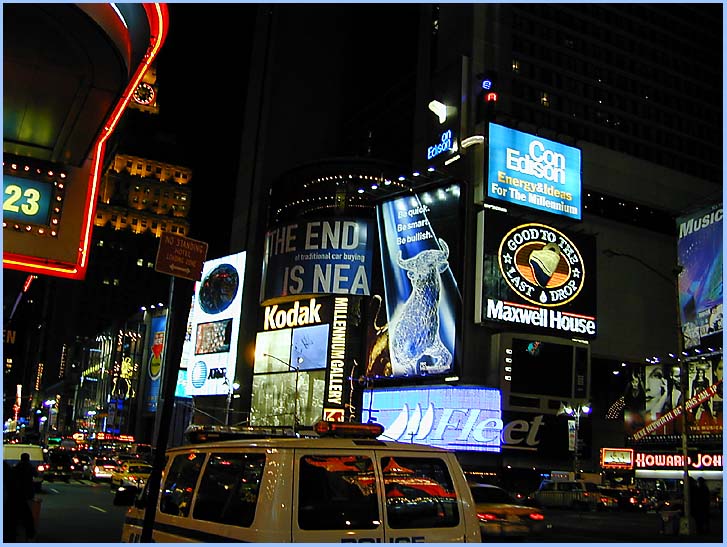
York at Night © Marvin Bartel, 2000 #2121-2-23-00
OBJECTIVES and STYLE
Night visions can be dramatic, mysterious,
surrealistic, or abstract. You will learn to use the low light limits of
the materials and equipment.
HAND IN
Experiment with your negatives and finish one
11x14 print. Mount or matt it.
SUBJECTS
Look for outdoor scenes that include some lighting
from signs, streetlights, cars, etc. Design the light in your composition.
WHEN
Begin shooting in the evening as soon as lights
come on. Also, shoot some after there is no more daylight.
FILM
Use Tmax 400 or P3200. Because of the experimental
nature of this assignment, a second film may be needed, but don't shoot
it until you see the results of the first film.
METERING
In very low light it is difficult to get a
meter reading. Take advantage of your meter's lower limits. The following
steps give you reliable readings in very low light.
1. Set your camera's ASA setting to the fastest
film speed possible. All cameras can be set up to ASA 1600. Some go to
6400 or higher.
2. Open the lens as far as possible (f-2 or
f-1.7).
3. Read the shutter speed recommendation for
this setting.
Example: it recommends a speed of 1/4 second.
4. If you get this reading with the camera's
ASA setting at 1600, you'll need to double the time twice to get the ASA
to agree with you film's ASA of 400.
Example 1/4 second = ASA 1600, 1/2 second =
ASA 800, and 1second = ASA 400.
5. Since you got this reading with your
lens wide open, you will have very poor depth of field. To get a better
depth of field simply continue to double the exposure time for each full
f-stop adjustment.
Example: f-1.7 = 1 second,
f-2.8 = 2 sec.,
f-4 = 4 sec.,
f-5.6 = 8 sec.,
f-8 = 16 sec.,
AND SO ON.
For long exposures the camera is set on B.
The shutter is held open with a cable release. Use a tripod.
6. When using more than one or two second exposures
film has some reciprocity failure. This means:
a. There will be a tendency toward underexposure.
b. Contrast will seriously increase because
the dark areas suffer more from reciprocity failure than the light areas
do.
7. Use only as much depth of field as you need
to avoid exposures slower than necessary.
8. If your exposure is longer than 1 second,
bracket with even longer exposure times. Longer exposure time allows developing
time to be shortened. This method gives you the best chance of showing
some information in the dark areas. This, of course, will mean very long
exposures.
One way to do the calculation is to treat the
400 ASA film as though it is a 50, or 100 ASA. This can allow shorter developing
times (pulling the film). Shorter developing times reduce contrast.
Overexposing allows developing time to be half as long or less - giving
better middle tone, but it is unrealistic to expect much shadow tone in
night photography. Keep records and figure out what works best for you.
REQUIRED EXPOSURE RECORD
What is your film speed? _____
Lens focal length? _____
Compositional objective of each frame (high,
or low key)? ________ _______
Lighting conditions (type and direction)?
Film processing time, temperature, and developer.
Does rewind turn when you advance? |