| High
Key - Low
Key
Art 315, Photography
Goshen College, Marvin Bartel, Inst.
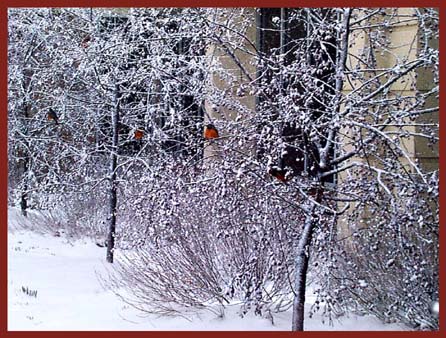
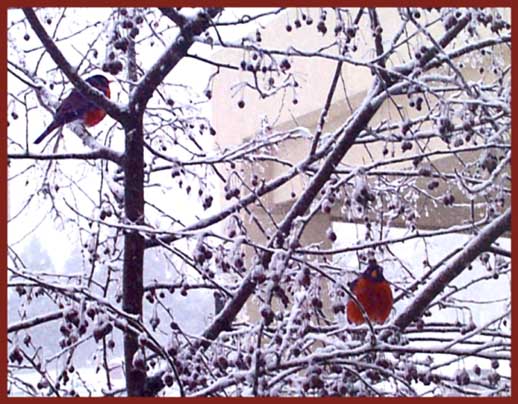
What are the artistic expressive effects possible by finding situations where the outcome is nearly all white or nearly all black? Can you produce full tonal range prints which are very high key, but still include a small amount of black, while holding textural information in both the light and dark areas? Can you produce full tonal range prints which are very low key, but still include a small amount of white, while holding textural information in both the light and dark areas? A second very important goal is to give us looking practice. To have an assignment changes our habits of looking and finding. We all need practice to notice, to perceive, and to respond. FINAL PRODUCT Produce one final 11 x 14 high key print with a very small amount of pure black-black and one final 11 x 14 low key print with a vary small amount of white-white. Both prints should have all values represented. Both lights and darks should show texture. Prints can be any proportion with any cropping. Dry mount your best print. Bring all records, negs, contacts, camera, trial prints, and fully retouched final prints for evaluation appointment. PREPARATION In our text and/or other photo books find four or more examples of high and low key photos. Document and sketch or photocopy them. SUBJECT MATTER Select any theme for your subject. You may have discovered an interest in a previous assignment. Repeat the same subject to meet the goals of this assignment. You may have a hobby or special interest that you want to record. You may do the assignment as a series of self-portraits or portraits of a friend. The college always needs good publication photos showing students working and interacting with each other and faculty. Other themes include aging, new and old, time passes, death, birth, passages, and so on. If you can't decide on a theme, start shooting until you've used a third or a half of your film. Review your shooting record and select your theme from subjects listed thus far. HIGH KEY SHOTS The setting and subject will need to be light or reflective with a light or well lighted background. Look for a few well placed darks and/or shadows to accent and/or define the subject. Use one-third or one-half of your film. LOW KEY SHOTS The setting and subject will need to be dark or shady with a dark or poorly lighted background. Look for a few well placed highlights to accent and/or define the subject. Use one-third or one-half of your film. FILM You may select any available 20 to 24 exposure black and white film. Decide if you'd like a film with very fine grain or if you want a film with very obvious "pointillist" grain. If you intentionally want pronounced grain, select ASA 400 film, rate it at 1600 or 3200, push process it and do extensive cropping while printing. It may be effective for this assignment. If you want very smooth tonal gradation without grain select ASA 100 or ASA 25 film. Kodak Technical Pan is ASA 25 and requires special developer. Advanced students may wish to try medium or large format film. PROCESSING THE FILM Use an appropriate developer for the effects you are after. Note
class discussion of available developers and their uses.
It's very important to use the gray card and use the gray card reading rather than the meter reading from the subject when working with high key and low key situations. If you find no difference between the gray card reading and the reading from the subject, it is doubtful if you actually have a high key or low key situation. If you already know the zone system, that is the best way to get exposures correct and get negatives with a good tonal range. "Bracket" the exposures by shooting one frame at the correct gray card meter reading. Then shoot one frame with 1 stop less light and one frame with 1.5 stops more light. Be sure to do your creative framing, camera angle, and so on before the first shot so that all three are of the exact same composition. This will give you three exposures to choose from when printing. If you expect to do all your shooting in strong contrasty light (direct sun) or all of it in soft low contrast light you may want to under-rate or over-rate (use a false ASA setting) the film and compensate during the developing to get more printable negatives. If you haven't studied the zone system, ask an advanced student who has studied the zone system or the instructor for suggestions about this. BRACKETING DEPTH OF FIELD Some compositions benefit from using selective focus and others benefit more by having everything sharply in focus. There are always many different f-stop settings possible so long as you adjust the shutter speed accordingly. Use a tripod and cable release in low light if you need good depth of field. Depth of field is also very limited when working close up, so the smallest aperture is generally required. Bracket (repeat the shot at different f-stops) the depth of field on any shots you don't feel sure about. Do this bracketing at the gray card exposure reading. REQUIRED EXPOSURE RECORD
Lighting conditions (type and direction)?
Film processing time, temperature, and developer.
Does rewind turn when you advance?
NOTES:
 Art 315 Assignment page Art 315 Syllabus updated 5-2000 |