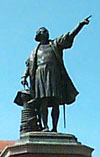
 2colonsmall.jpg -- Christopher Columbus
Create a folder in your webspace to hold all the graphics and the webpage you'll create for this lab.
Download santodomingo.html into the folder you just created. It contains a few paragraphs about sights (not to be confused, in spelling, with websites!) in the Dominican Republic.
Download these 6 photos into that folder too.
2colonsmall.jpg -- Christopher Columbus
 2colonsmall-thumb.jpg
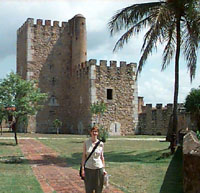 2ozamak.jpg -- The Ozama fortress
 2ozamak-thumb.jpg
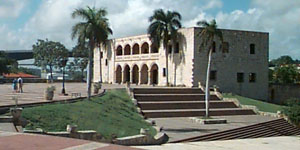 2alcazar.jpg --
The Alcazar
2alcazar.jpg --
The Alcazar
 2alcazar-thumb.jpg
Open your copy of "santodomingo.html" in DreamWeaver.
Place your cursor below the top headline and use "Insert | Image" to display the three thumbnail images, one after another. (Later on, we'll make these into links to the different sections of the web page.) You should be asked along the way for "alt" content--an alternative text description for the image. You needn't fill out the URL for a long description. Look at the source code and admire how many of the <img> attributes have been filled in for you!
Next, place your cursor at the beginning of a paragraph that relates to one of the images, and use "Insert | Image" to insert each larger image into the paragraph that it relates to.
Set the default style of the img tag using DW's style menus (float is on the "box" option menu) to this:
img {
   float: left:
}
 This
will create a layout like this where everything, including the next picture
and next wrapped chunk of text is wrapping around the images. So the next thing
we need to figure out is...
This
will create a layout like this where everything, including the next picture
and next wrapped chunk of text is wrapping around the images. So the next thing
we need to figure out is...
There are two ways to turn off word wrapping.
 Then,
in the DW source code window, you can right-click the tag and choose Edit Tag:
Then,
in the DW source code window, you can right-click the tag and choose Edit Tag:Select the img tag style, and add some padding! You might also experiment with modifying the border and margin characteristics of the img tag. Notice that this will affect not only the big images, but also the small thumbnail ones.
But wait, you say you want some of the images to float right instead of always left??
You can make an exception for an individual tag from the rules that it normally obeys, by adding a style attribute to the tag. In DW, you do it like this:
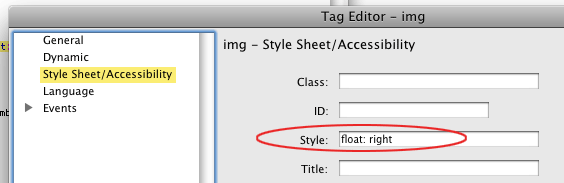
The resulting markup should look something like this:
<img src='2ozamak.jpg' style='float:right'>
[In a bit, we'll see that really this is a job for a class: A named collection of style rules that we can apply to any tag. We'll explore that in more detail in a session on classes and ids.]
The first part of this involves naming a location to
jump to by adding an
id to a particular tag. This can be done by right-clicking
in the source window on the tag, and choosing Edit Tag, then filling in the
ID like this:
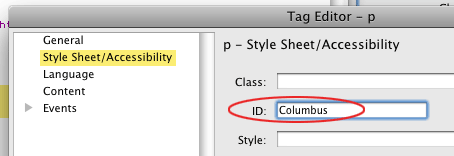
In general you should avoid spaces in your IDs!
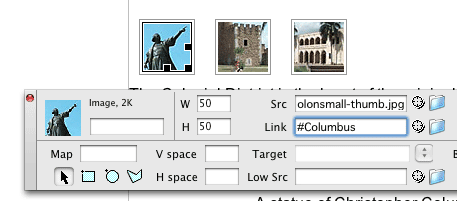
Then, you can scroll up, select the thumbnail, and fill in the link in the
property window like this, with the '#' symbol before the ID you just created.
Polish up anything else you want to do to make your page look good.
Finally, "hand in" your lab page by posting a link on Moodle.